
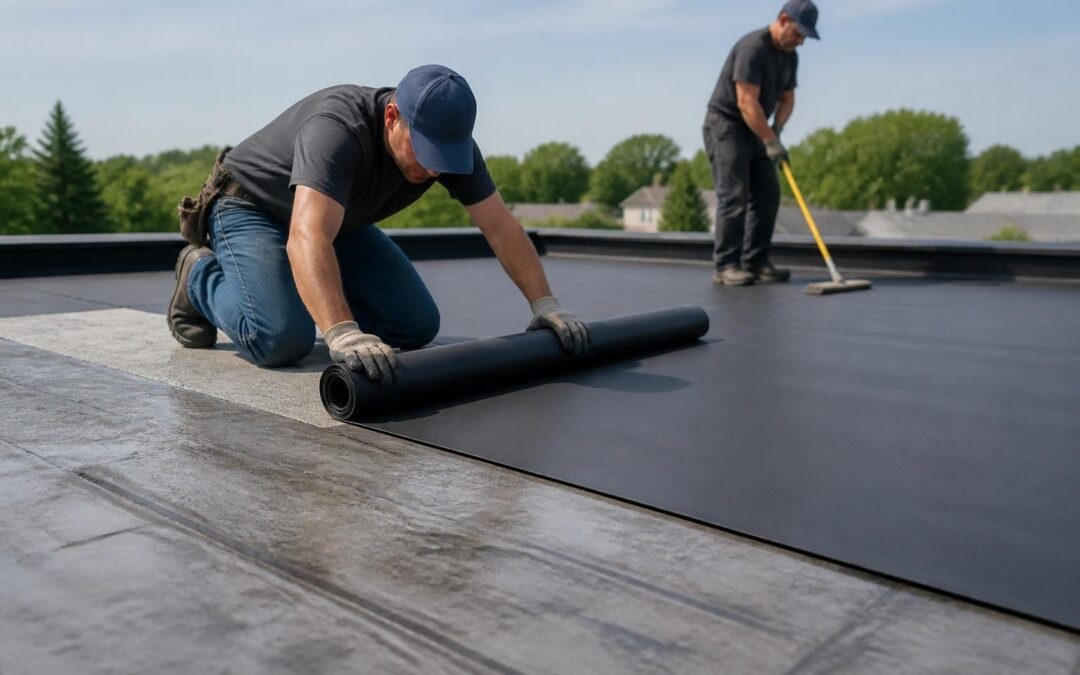
Rubber roof installation has become increasingly popular among property owners in Los Angeles and across the United States due to its exceptional durability, cost-effectiveness, and straightforward maintenance requirements. Known technically as EPDM (ethylene propylene diene terpolymer) roofing, this synthetic rubber membrane offers a practical solution for flat and low-slope roofs on both residential and commercial structures. Understanding the installation process, material options, and best practices ensures property owners make informed decisions about this long-lasting roofing system that can protect their investment for decades.
Understanding EPDM Rubber Roofing Materials
EPDM rubber roofing represents a significant advancement in flat roof technology. This synthetic rubber membrane consists of a petroleum-based compound that delivers outstanding weather resistance and flexibility across extreme temperature ranges.
Material Specifications and Options
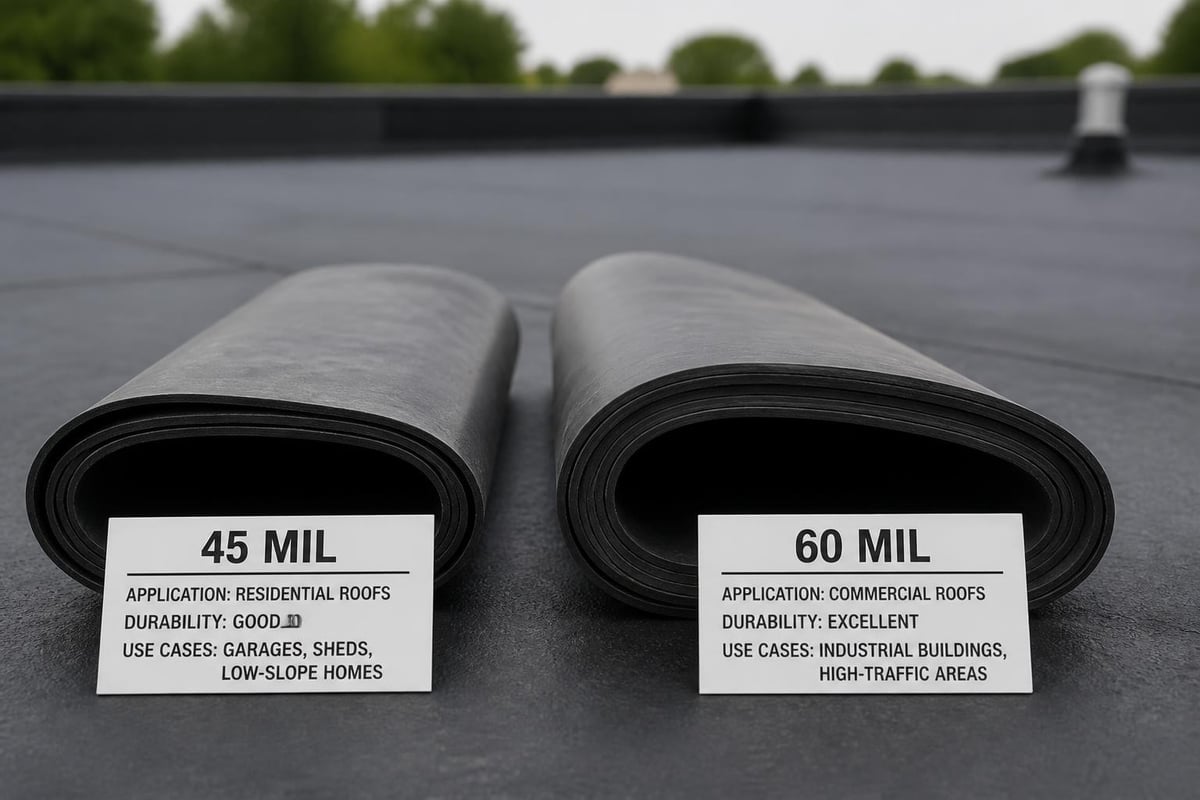
Rubber roofing membranes typically come in two standard thicknesses: 45 mil (0.045 inches) and 60 mil (0.060 inches). The thicker 60 mil option provides enhanced durability and puncture resistance, making it ideal for areas with heavy foot traffic or exposure to debris.
Key material characteristics include:
- Width options ranging from 7.5 feet to 50 feet for various project sizes
- Black or white membrane colors affecting heat absorption
- Reinforced or non-reinforced formulations
- UV-resistant compounds for extended lifespan
- Factory-applied tape or liquid adhesive compatibility
Property owners should consider their specific climate conditions when selecting membrane thickness. The thicker 60 mil membrane performs exceptionally well in areas prone to hail or where maintenance personnel regularly access the roof.
Three Primary Rubber Roof Installation Methods
The success of rubber roof installation depends heavily on selecting the appropriate attachment method for your specific building structure and environmental conditions. Different installation methods for rubber roofing membranes each offer distinct advantages depending on building requirements and budget considerations.
Fully Adhered Installation
The fully adhered method involves bonding the entire rubber membrane directly to the roof substrate using specialized adhesive. This technique creates the most wind-resistant installation and works particularly well in high-wind regions.
| Advantage | Description |
|---|---|
| Wind Resistance | Superior protection against membrane uplift in storms |
| Watertight Seal | Complete adhesion prevents water migration |
| Aesthetic Appeal | Smooth, uniform appearance without visible fasteners |
| Long-term Performance | Reduced movement extends membrane lifespan |
The adhesive application requires careful attention to weather conditions. Contractors must apply bonding adhesive when temperatures exceed 40°F and rain is not forecasted within 24 hours.
Mechanically Attached Installation
Mechanical attachment utilizes fasteners and plates to secure the rubber membrane to the roof deck. This method offers faster installation times and greater flexibility with substrate conditions.
Installation process steps:
- Roll out membrane across the roof surface
- Position fastener plates at prescribed intervals
- Drive fasteners through plates and membrane into deck
- Apply seam tape to cover fastener rows
- Seal all penetrations and terminations
This approach works exceptionally well when the existing roof deck cannot support liquid adhesives or when installation must proceed during cooler weather. The mechanically attached method also simplifies future repairs or modifications.
Ballasted Installation
Ballasted systems rely on weight rather than adhesive or fasteners to hold the membrane in place. River rock, pavers, or concrete blocks provide the necessary ballast weight across the roof surface.
This installation method requires minimal roof penetrations and offers excellent protection for the rubber membrane against UV exposure. However, building structures must support the additional weight, typically 10-12 pounds per square foot. EPDM roofing installation methods vary significantly in their structural requirements and long-term maintenance needs.
Preparation Requirements for Successful Installation
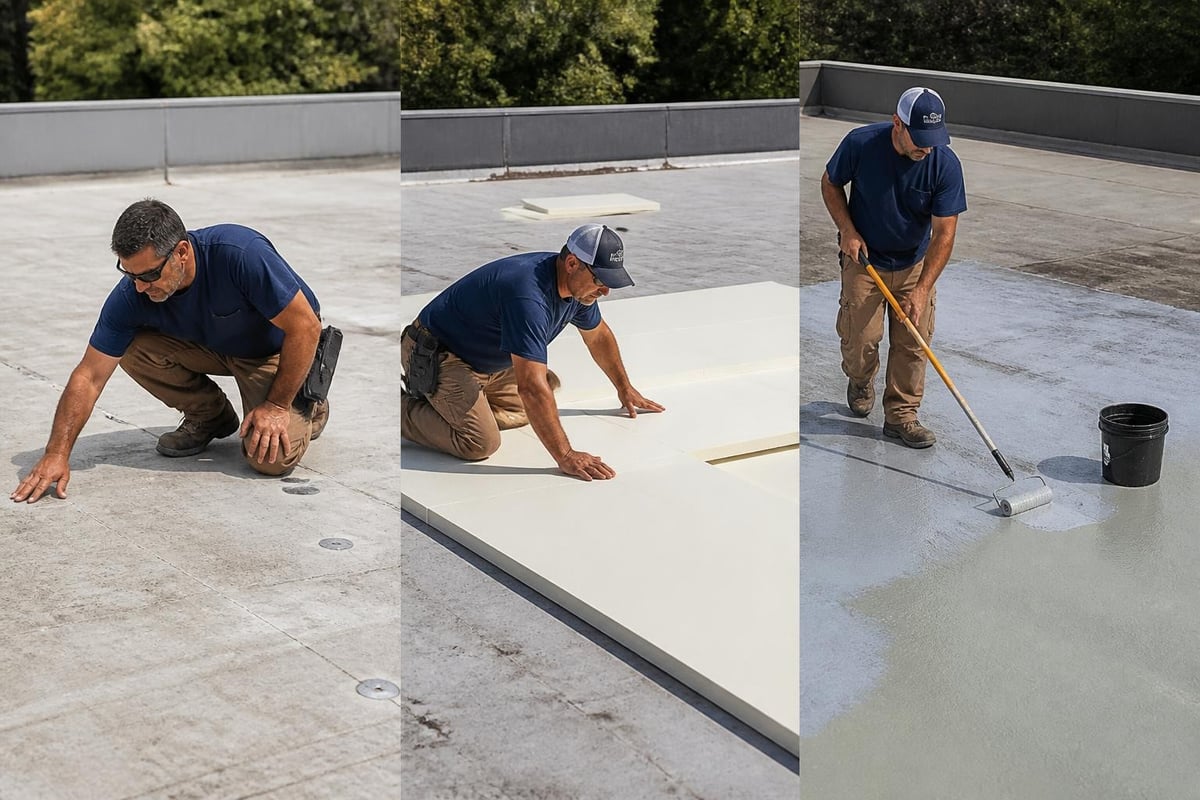
Proper substrate preparation determines the long-term success of any rubber roof installation project. The existing roof deck must be structurally sound, clean, and properly sloped for drainage.
Roof Deck Assessment
Professional contractors begin by thoroughly inspecting the existing roof structure. Any damaged or deteriorated decking requires replacement before membrane installation proceeds. Moisture testing identifies hidden water damage that could compromise the new roofing system.
Wood decks need smooth, gap-free surfaces. Contractors typically install cover boards over wood decking to create an ideal substrate for rubber membrane adhesion. Concrete decks require smoothing of rough spots and filling of cracks or gaps.
Insulation Considerations
Many rubber roof installation projects include new insulation layers to improve energy efficiency. Polyisocyanurate (polyiso) boards offer excellent R-value per inch and compatibility with EPDM systems.
- Tapered insulation systems improve drainage toward roof drains
- Two-layer installations offset seams for enhanced performance
- Mechanically fastened boards prevent movement during installation
- Compatible adhesives ensure proper bonding between layers
The insulation must remain dry throughout the installation process. Contractors typically install only the amount of insulation they can cover with membrane during each work shift.
Step-by-Step Installation Process
Understanding the detailed steps of rubber roofing installation helps property owners recognize quality workmanship and proper installation practices. Professional installation requires specialized tools and expertise to achieve watertight results.
Initial Membrane Positioning
Contractors begin by loosely rolling out the rubber membrane across the prepared substrate. The membrane needs adequate time to relax and adjust to ambient temperature before final positioning. This acclimation period typically requires 30-60 minutes depending on weather conditions.
Proper positioning ensures membrane edges extend slightly beyond roof perimeters for secure termination. Installers carefully align seams to avoid creating valleys where water might collect.
Adhesive Application and Bonding
For fully adhered installations, contractors fold back half of the membrane and apply bonding adhesive to the exposed substrate. The adhesive must achieve the proper tack before membrane placement, typically 10-30 minutes depending on temperature and product specifications.
Critical bonding steps include:
- Apply adhesive evenly using notched rollers or sprayers
- Allow proper flash-off time before membrane contact
- Roll membrane into adhesive working from center outward
- Use heavy rollers to ensure complete contact and adhesion
- Repeat process for remaining membrane section
Temperature monitoring remains crucial throughout adhesive application. Most bonding adhesives require temperatures above 40°F for proper curing and adhesion development.
Seam Creation and Waterproofing
EPDM seams represent the most critical aspect of rubber roof installation quality. Best practices for EPDM roofing installation emphasize meticulous seam preparation and tape application to prevent future leaks.
Contractors clean seam areas with approved primers before applying seam tape or liquid adhesive. The tape must cover the full seam width with consistent pressure application to create molecular bonding. Proper seam installation creates watertight joints stronger than the membrane itself.
Flashing and Termination Details
Proper flashing around roof penetrations and perimeter edges ensures complete weather protection. Every pipe, vent, skylight, and roof edge requires careful detailing to prevent water infiltration.
Pipe Boot Installation
Pipe penetrations receive prefabricated EPDM pipe boots that seal around the protruding pipe. Contractors apply primer and bonding adhesive to both the membrane and boot, creating a permanent watertight seal. Stainless steel clamps secure the boot to the pipe above the roof surface.
Perimeter Termination Options
Roof edges require secure membrane termination to prevent wind uplift and water intrusion. Common termination methods include:
| Method | Application | Key Features |
|---|---|---|
| Termination Bar | Parapet walls | Metal bar mechanically fastened through membrane |
| Drip Edge | Roof perimeters | Pre-formed metal edge with sealed membrane |
| Coping Cap | Wall tops | Metal cap covering membrane termination |
| Batten Strip | Vertical walls | Wood or metal strip securing membrane edge |
Each termination point receives sealant application to ensure complete weather protection. Professional installers verify all terminations remain secure and watertight before completing the installation.
Cost Considerations and Investment Value
Rubber roof installation costs vary based on membrane thickness, installation method, roof complexity, and regional labor rates. Property owners in Los Angeles typically invest between $4.50 and $8.50 per square foot for complete EPDM installation.
Price Breakdown Components
Material costs represent approximately 40-50% of total project expenses. The remaining costs cover labor, equipment rental, permits, and disposal of existing roofing materials when applicable.
Factors influencing installation costs:
- Roof accessibility affects labor efficiency and equipment requirements
- Membrane thickness directly impacts material costs
- Installation method with fully adhered systems costing 15-20% more than ballasted
- Insulation upgrades adding $1.50-$3.00 per square foot
- Roof complexity including multiple penetrations or irregular shapes
When considering new roof installation options for your property, rubber roofing delivers exceptional value through its longevity and minimal maintenance requirements. Professional installation ensures your investment provides decades of reliable protection for residential and commercial structures throughout the Los Angeles area.
Long-Term Value Analysis
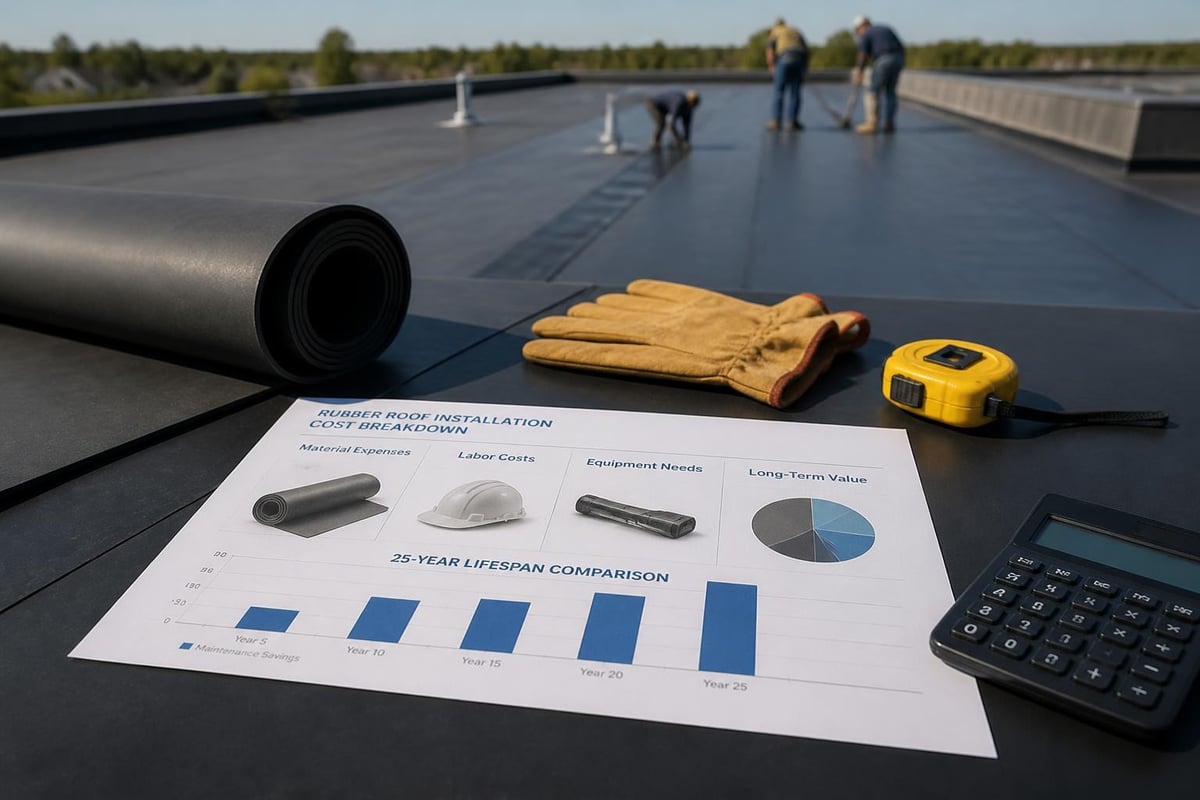
EPDM rubber roofing systems typically last 25-30 years with proper installation and basic maintenance. This longevity combined with minimal upkeep requirements creates excellent lifetime value compared to alternative roofing materials.
Energy savings contribute additional value, particularly when white EPDM membrane reflects solar heat. Buildings with white rubber roofing often experience 10-20% reductions in cooling costs during summer months.
Installation Timing and Weather Considerations
Successful rubber roof installation requires appropriate weather conditions throughout the installation process. While EPDM systems offer installation flexibility compared to some roofing materials, certain environmental factors significantly impact installation quality.
Optimal Temperature Ranges
Most EPDM adhesives and primers require temperatures above 40°F for proper curing and bonding. Ideal installation conditions occur between 50°F and 85°F with low humidity and no precipitation forecast.
Cold weather installations require special low-temperature adhesives and extended cure times. Hot weather above 90°F demands careful attention to adhesive flash-off times and can make membrane handling more challenging due to increased flexibility.
Moisture and Precipitation
Rain during or immediately after rubber roof installation can compromise adhesive bonding and create moisture trapped beneath the membrane. Professional contractors monitor weather forecasts closely and plan installations during dry periods with at least 24-48 hours of clear weather.
Morning dew requires adequate drying time before adhesive application begins. Installers typically wait until substrate surfaces reach ambient temperature and moisture evaporation completes.
Quality Assurance and Inspection Points
Professional rubber roof installation includes multiple quality checkpoints throughout the process. These inspections ensure every component meets manufacturer specifications and industry best practices.
Critical Inspection Areas
Experienced roofing professionals verify substrate preparation before any membrane installation begins. The deck must be smooth, dry, and free of debris or contaminants that could compromise adhesion.
Key inspection checkpoints include:
- Substrate condition and preparation quality
- Insulation installation and fastening patterns
- Membrane positioning and alignment accuracy
- Adhesive coverage and bonding completeness
- Seam tape application and edge sealing
- Flashing details around all penetrations
- Termination security at roof perimeters
- Overall system watertightness verification
Many professional contractors perform water testing on completed installations to verify complete weather protection before final project acceptance.
Maintenance Requirements for Extended Lifespan
Proper maintenance preserves rubber roof performance and extends system lifespan beyond manufacturer expectations. Comprehensive guide to rubber roofing maintenance recommendations emphasize regular inspections and prompt repair of minor issues.
Regular Inspection Schedule
Property owners should conduct visual roof inspections twice annually, typically in spring and fall. These inspections identify potential issues before they develop into significant problems requiring expensive repairs.
Inspection focus areas:
- Seam integrity and edge adhesion
- Ponding water or drainage blockages
- Penetration flashing condition
- Surface debris accumulation
- Membrane tears or punctures
- UV degradation or weathering signs
Professional roofing contractors offer comprehensive inspection services that include detailed condition reports and recommended maintenance actions.
Cleaning and Debris Removal
Regular cleaning prevents organic growth and removes debris that could damage the membrane. Gentle washing with mild soap and water maintains membrane appearance and identifies developing issues.
Tree branches, leaves, and other debris should be removed promptly to prevent moisture accumulation and potential membrane damage. Sharp objects require immediate attention to avoid punctures or tears.
Minor Repair Procedures
Small tears or punctures receive patch repairs using EPDM tape or liquid adhesive. Professional contractors can complete minor repairs quickly, preventing small issues from developing into major leaks.
Seam repairs require specialized materials and techniques to restore original waterproofing performance. Property owners should engage experienced roofing professionals for any seam-related repairs to ensure proper adhesion and long-term effectiveness.
Environmental Benefits and Sustainability
EPDM rubber roofing offers several environmental advantages that appeal to environmentally conscious property owners. The material's long lifespan reduces landfill waste compared to shorter-lived roofing alternatives.
Recycling and Disposal
Modern EPDM membranes contain recyclable components that can be reclaimed at end of service life. Some manufacturers operate take-back programs that process old membrane into new products or alternative applications.
The installation process generates minimal waste compared to traditional roofing materials. Precise measurements and careful cutting reduce scrap material, and most installation adhesives contain low VOC formulations that minimize environmental impact.
Energy Efficiency Contributions
White EPDM membranes reflect up to 80% of solar radiation, significantly reducing building cooling loads. This reflectivity creates measurable energy savings and improved indoor comfort during hot weather periods common in Los Angeles.
The insulation typically installed beneath rubber roofing further enhances building energy performance. Combined thermal benefits can reduce HVAC system runtime by 15-25% compared to poorly insulated or dark-colored roofing systems.
Common Installation Mistakes to Avoid
Understanding typical rubber roof installation errors helps property owners recognize quality workmanship and avoid contractors who cut corners. Step-by-step installation guides emphasize attention to detail throughout every installation phase.
Inadequate Substrate Preparation
Attempting to install EPDM membrane over damaged or improperly prepared substrate leads to premature failure. Successful installations require smooth, clean, dry surfaces that promote proper adhesive bonding.
Contractors who skip substrate repairs or attempt installations over wet surfaces compromise long-term performance. These shortcuts may save time initially but create expensive problems requiring complete system replacement.
Improper Seam Installation
Rushing seam tape application or failing to properly clean and prime seam areas creates the primary failure point in rubber roofing systems. Professional installers dedicate appropriate time to seam preparation and verification.
Seams require consistent pressure application using specialized rollers. Hand-pressing seam tape or skipping edge sealing steps creates potential leak paths that worsen over time.
Insufficient Flashing Details
Inadequate flashing around penetrations represents another common installation failure. Every pipe, vent, and roof edge requires careful detailing with appropriate materials and proper sealing techniques.
Generic or improperly sized pipe boots fail to create watertight seals. Professional installations use manufacturer-approved flashing components designed specifically for EPDM systems.
Rubber roof installation provides reliable, long-lasting protection for flat and low-slope roofs when completed by experienced professionals using proper techniques and quality materials. Understanding installation methods, cost factors, and maintenance requirements helps property owners make informed decisions about this durable roofing solution. Whether you need expert guidance on rubber roofing options or professional installation services for your Los Angeles property, Proof Your Roof delivers the expertise and quality workmanship to protect your investment for decades to come.